Page 1 of 1
A Different Peanut
Posted: Fri Jun 20, 2025 3:10 am
by kittyfritters
Re: A Different Peanut
Posted: Fri Jun 20, 2025 3:40 am
by kittyfritters
I intended to build it as described in the magazine article but then I read the article. When you first look at the plan the fuselage appears to be built on a crutch. I have no problem building a fuselage on a crutch, I've even designed a couple that way, but that's not exactly the way he did it. According to the instructions you build the wing first, glue formers to the leading and trailing edges, add the 1/8" X 1/16" crutch and add formers to the front and rear. I suppose it was supposed to be a self-jigging construction method built while holding it in your hand however, it occurred to me that I would have to cover the wing first (not mentioned in the article or on the plan) or I wouldn't be able to cover it and also that It wouldn't be hard to build a banana shaped fuselage this way. I decided to build it on a conventional crutch and cut the cross pieces out after I had the stringers on. The plan calls for another 1/8" X 1/16" stringer to make the edge of the cockpit with the top and bottom stringers being 1/16" square ("keels"?) and the remainder of the stringers being 1/32" square bamboo. The bamboo callout is to make the fuselage strong enough to run into a wall, no, really! Read the article. I decided that 1/32" square balsa would be enough.
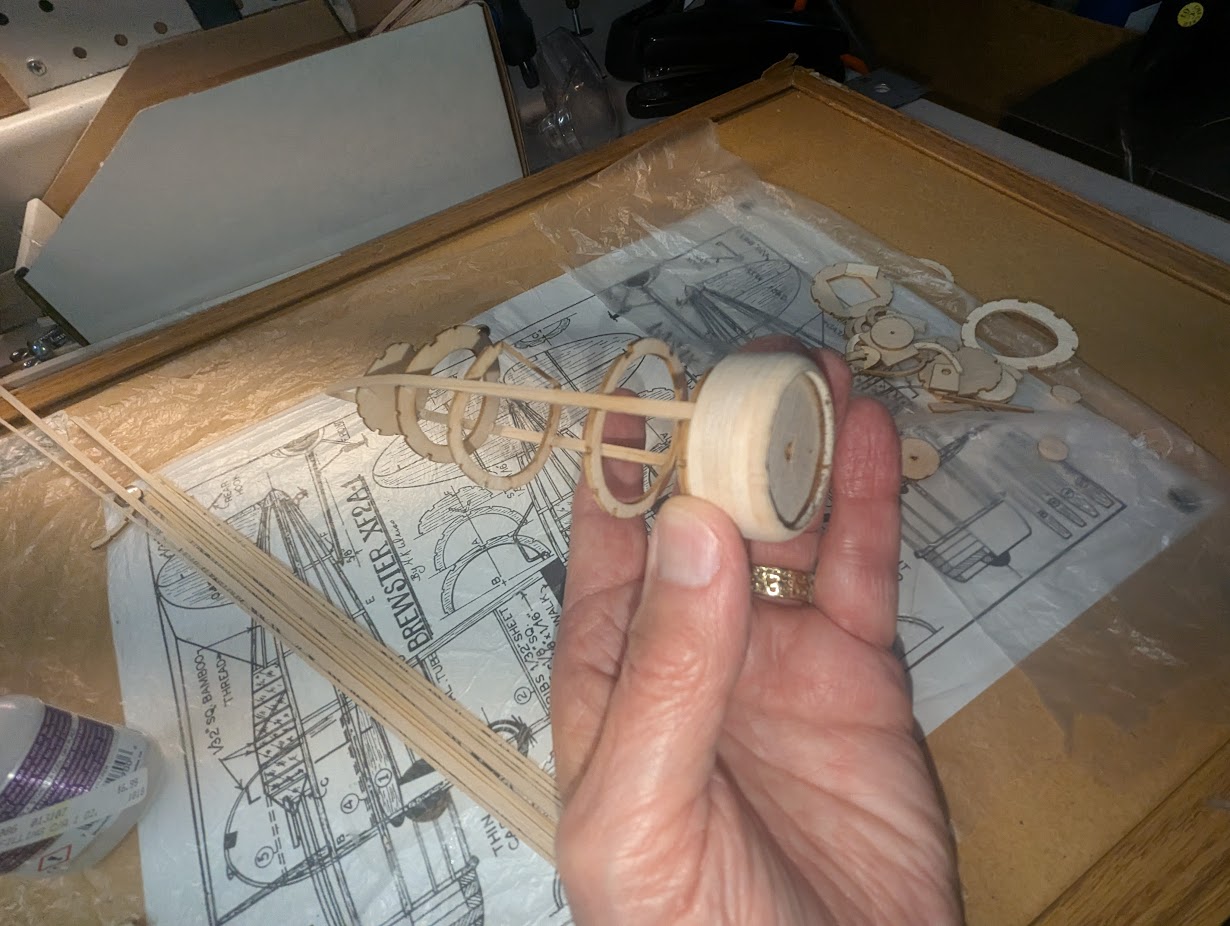
- PXL_20250518_015042888.jpg (184.1 KiB) Viewed 253 times
When I got it together I decided that it was a bit heavy for such a small model so I decided to redesign it in my usual half shell style with 1/16" square keels and the 1/32" stringers. It was easy to simply cut the formers in the drawing and re-cut them on the laser.
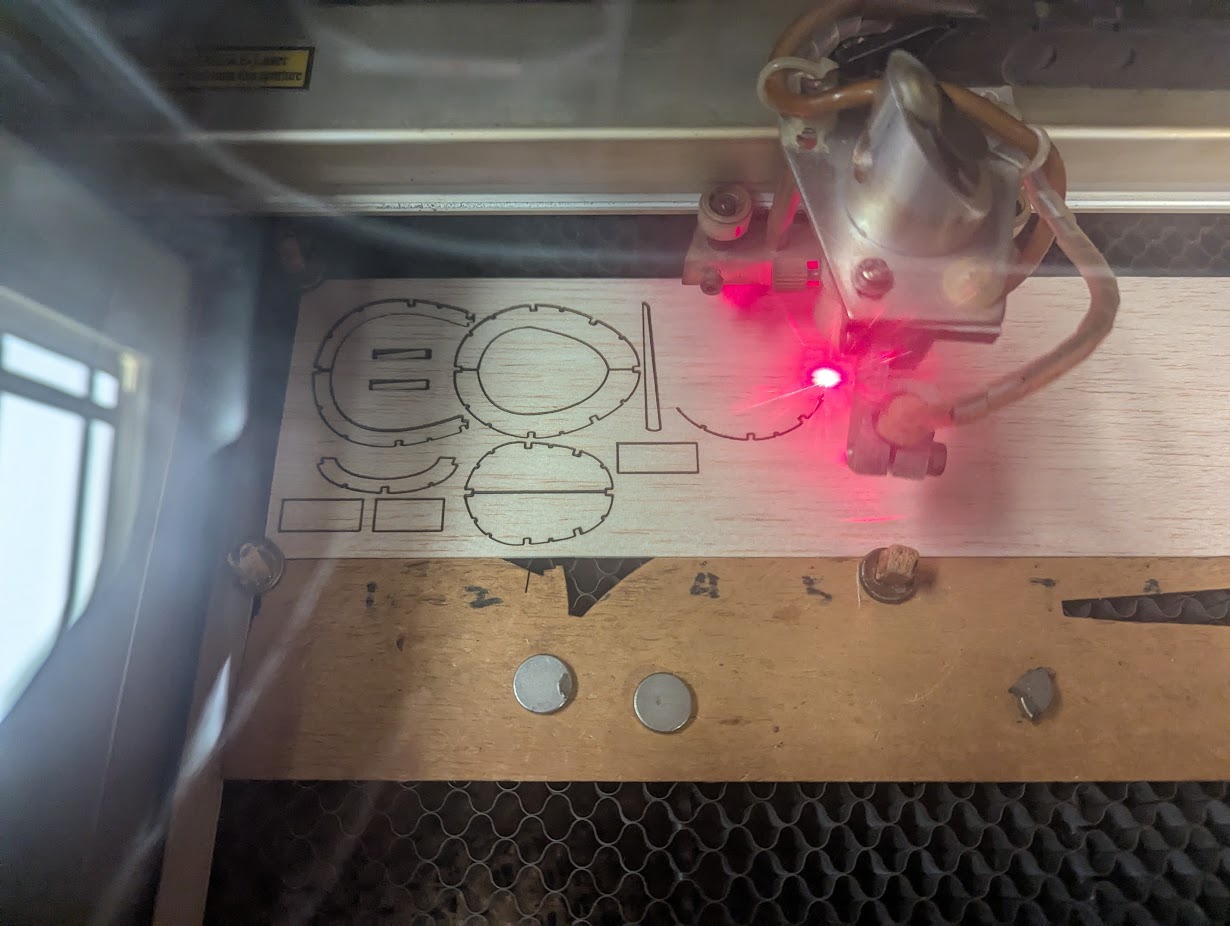
- PXL_20250520_202128913.jpg (140.72 KiB) Viewed 253 times
I then proceeded to build it using the half shell method.
- PXL_20250520_204808290.jpg (175.55 KiB) Viewed 253 times
Re: A Different Peanut
Posted: Sun Jun 22, 2025 5:27 am
by kittyfritters
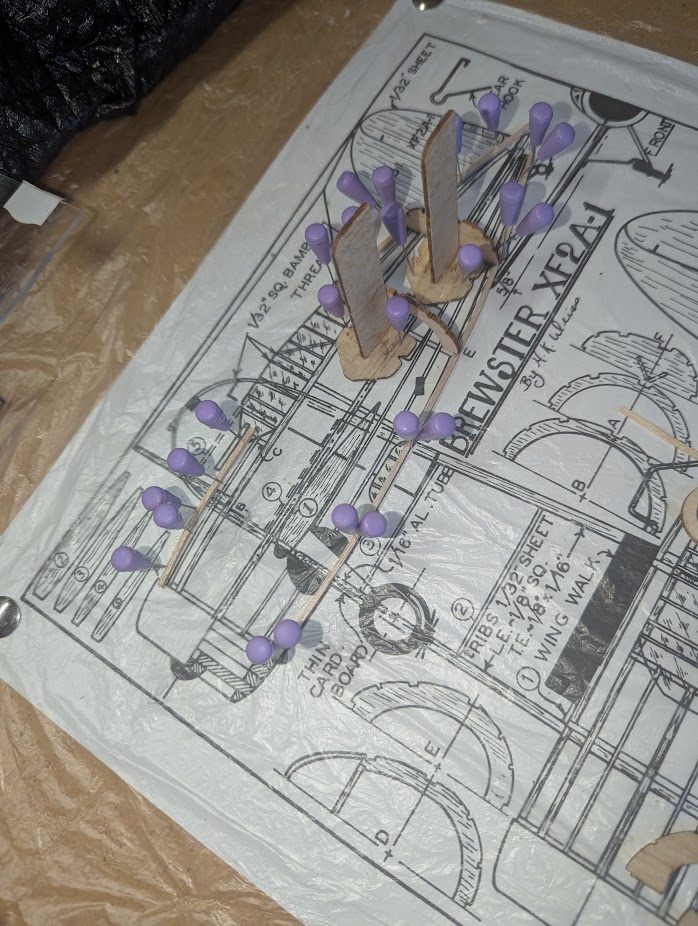
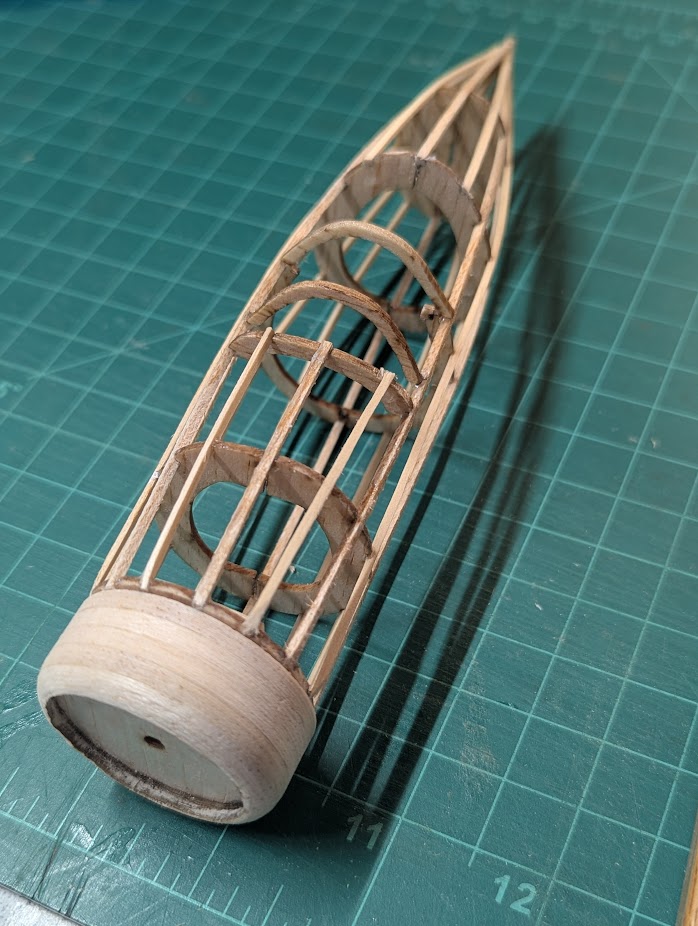
As you saw in my last post I changed the design to half former construction and cut new parts. I pinned down a top and bottom keel of 1/16" square. Then I pinned down right angle tools to the plan at the former positions. Working from back to front (to keep from trapping a right angle tool in the back of the fuselage) I glued in the half formers using the right angle tools to keep them perpendicular to the building board. I changed the 1/8" X 1/16" crutch to a 1/16" square side keel. I added the side keel, carefully then removed the last right angle tool. Herb had a 1/8" X1/16" master stringer that defined the edge of the cockpit and I changed that to 1/16" square also.
Now to get to get the other half on. This is where flat craft sticks and small clamps come in. For a model this small I split some craft sticks in half lengthwise. I apply a stick to one of the formers already glued on with a clamp, then put the other half of the former in place, clamping it to the craft stick, check the alignment, and apply glue. This technique works with any keel and half former model that doesn't have self jigging interlocking parts.
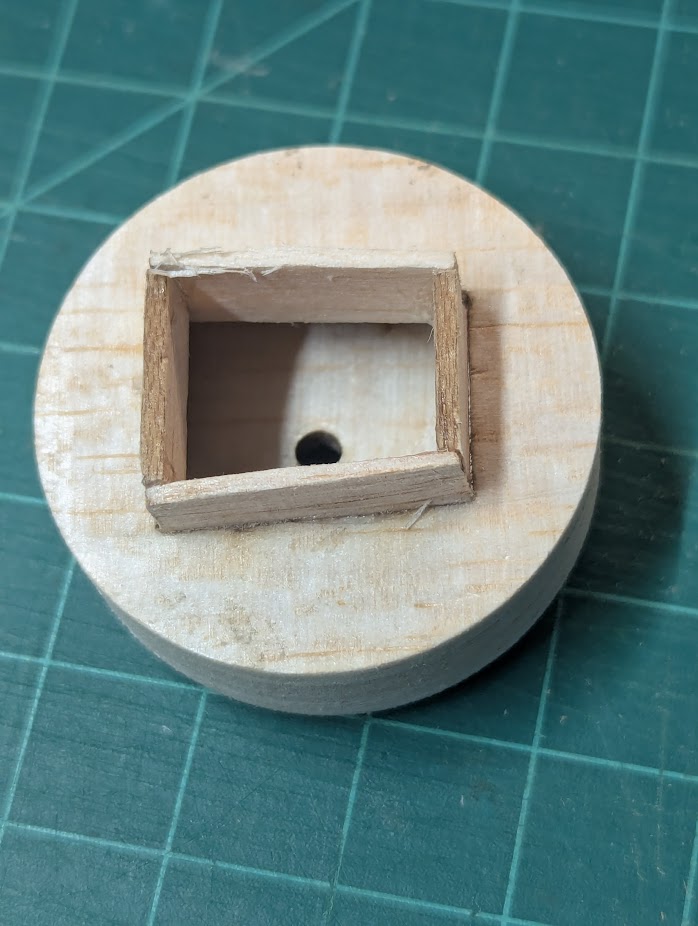
With the other side keel on I'm not building a banana and all I had to do was put the 1/32" stringers on. I built the key on the back of the cowl and checked the fit.
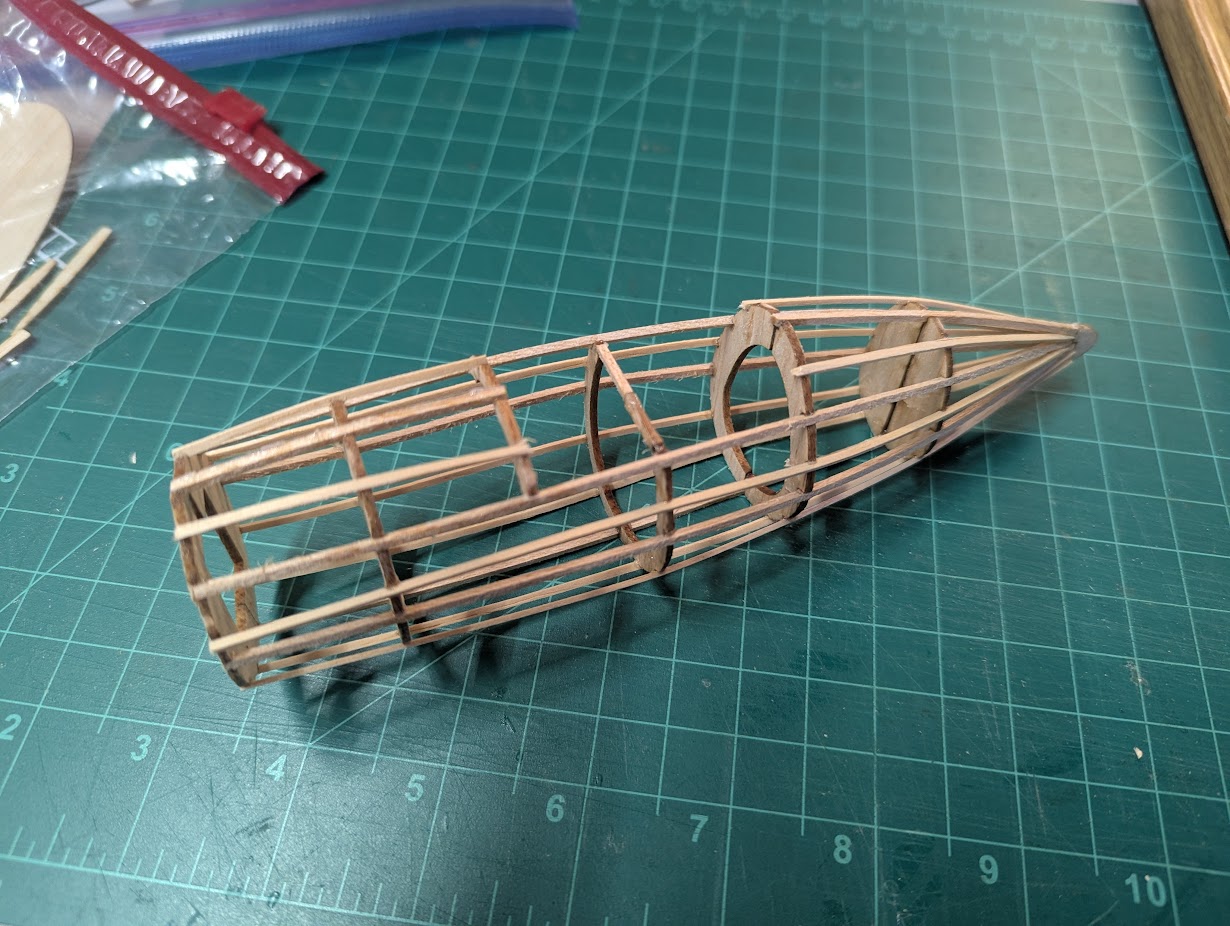
- PXL_20250525_023229636.jpg (236 KiB) Viewed 227 times
- PXL_20250525_024519039.jpg (94 KiB) Viewed 227 times
- PXL_20250525_025331162.jpg (133.04 KiB) Viewed 227 times